No-Bake Cheesecake Cups: A Simple and Elegant Dessert
Craving a rich, creamy dessert that’s easy to make and perfect for any occasion? These No-Bake Cheesecake Cups are the ultimate solution. With layers of velvety cheesecake filling, buttery graham cracker crumbs, and your choice of toppings, they’re as delicious as they are stunning.
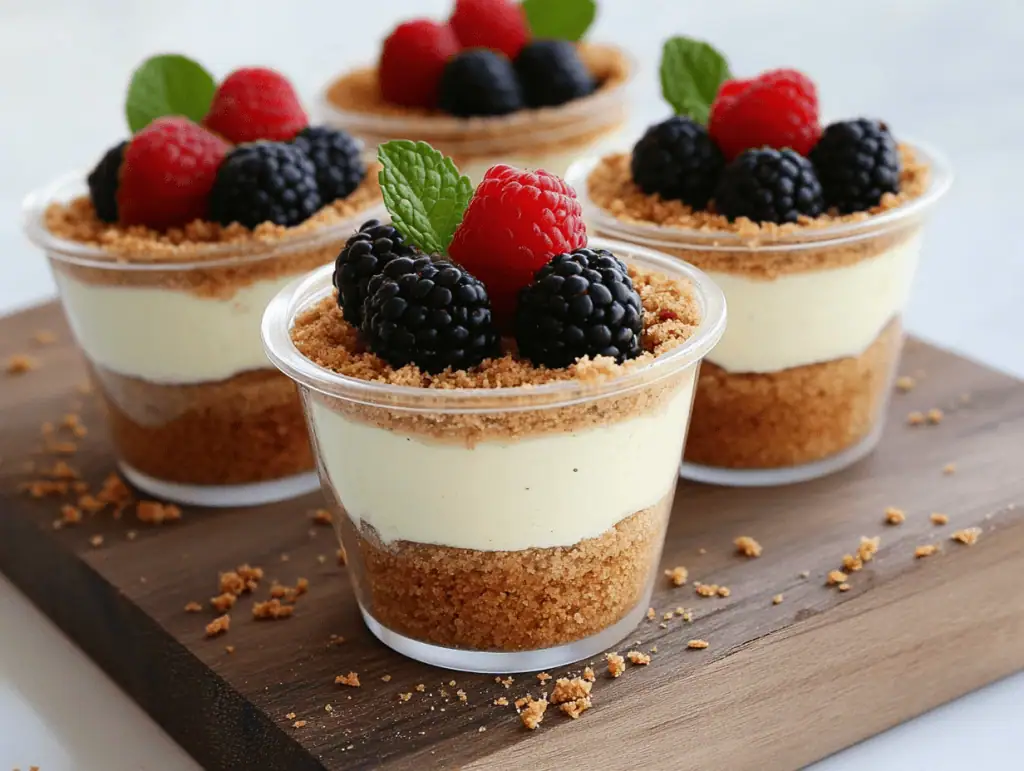
Whether you’re hosting a party, celebrating a special occasion, or just want an indulgent treat, these individual cups are a guaranteed hit. Plus, no oven required! Pair them with refreshing mocktails like the Raspberry Lemonade Cooler or the Elderflower Lemonade Mocktail for an elevated dessert experience.
Recipe Overview
- Serves: 6–8 (makes about 6 cups)
- Prep Time: 15 minutes
- Chill Time: 1–2 hours
- Total Time: 1 hour 15 minutes
Why You’ll Love This Recipe
- No baking required: Perfect for warm days or when you want a fuss-free dessert.
- Customizable: Use your favorite toppings, from fruit to chocolate.
- Perfectly portioned: Individual cups make serving easy and mess-free.
- Beginner-friendly: Simple ingredients and no special equipment required.
Ingredients
Cheesecake Base:
- 8 ounces cream cheese (softened)
- ½ cup powdered sugar
- 1 teaspoon vanilla extract
- 1 cup heavy whipping cream (cold)
Graham Cracker Layer:
- 1 cup graham cracker crumbs
- 2 tablespoons unsalted butter (melted)
Toppings (Choose One or More):
- Fresh berries (strawberries, blueberries, raspberries)
- Chocolate shavings or drizzle
- Lemon curd
- Whipped cream
- Crushed cookies or candy
Tools You’ll Need
- Hand mixer or stand mixer
- Mixing bowls
- Small glasses, jars, or dessert cups
- Piping bag or spoon for assembling
Instructions
Step 1: Make the Graham Cracker Layer
- In a small bowl, mix the graham cracker crumbs and melted butter until evenly combined.
- Spoon about 2 tablespoons of the mixture into the bottom of each dessert cup. Press gently to create an even layer.
Step 2: Prepare the Cheesecake Filling
- In a mixing bowl, beat the cream cheese, powdered sugar, and vanilla extract until smooth and creamy.
- In a separate bowl, whip the heavy cream to stiff peaks using a hand mixer or stand mixer.
- Gently fold the whipped cream into the cream cheese mixture until fully incorporated and fluffy.
Step 3: Assemble the Cups
- Spoon or pipe the cheesecake filling over the graham cracker layer in each cup. Fill each cup about ¾ of the way.
- Smooth the tops with a spoon or spatula.
Step 4: Add Toppings
- Top each cheesecake cup with your chosen garnishes, such as fresh berries, chocolate shavings, or lemon curd.
Step 5: Chill and Serve
- Cover the cups with plastic wrap and chill in the refrigerator for 1–2 hours to allow the filling to set.
- Serve chilled and enjoy!
Serving Suggestions
- Portion Size: Plan for 1 cup per person as a dessert.
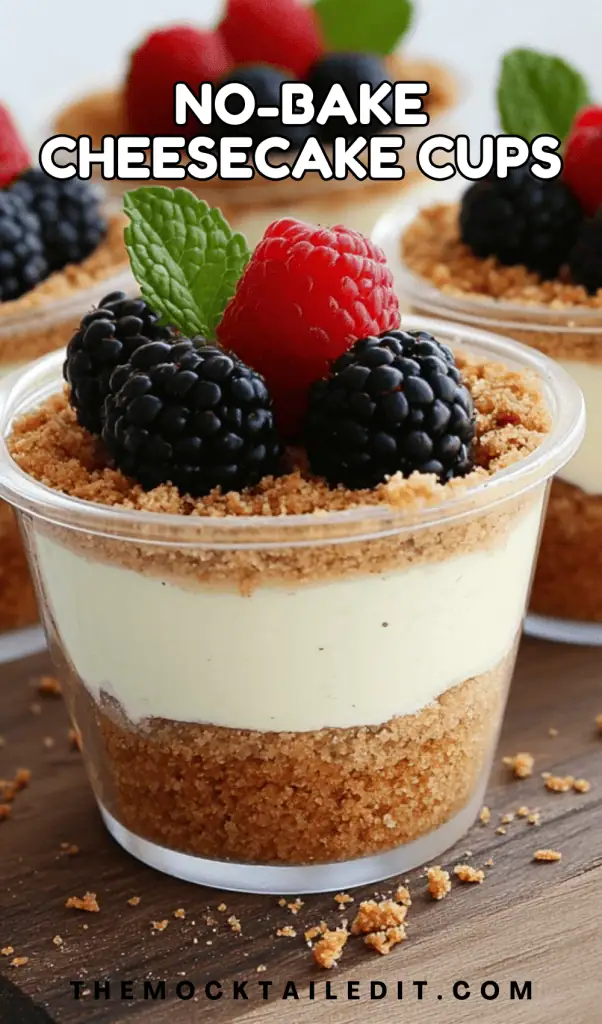
- Presentation Tip: Use clear cups or jars to showcase the layers for an elegant presentation.
Perfect Pairings
- Mocktails:
- Raspberry Lemonade Cooler: The tangy fruit flavors pair perfectly with the creamy cheesecake.
- Elderflower Lemonade Mocktail: Light and floral, this complements the richness of the dessert.
- Snack Board: Add these cheesecake cups to a dessert platter with cookies, chocolates, and fresh fruit for a luxurious spread.
Variations and Customizations
- Chocolate Cheesecake Cups: Add 2 tablespoons of cocoa powder to the cream cheese mixture for a chocolate twist.
- Citrus Cheesecake Cups: Fold in 2 teaspoons of lemon or lime zest for a tangy flavor.
- Gluten-Free Option: Use gluten-free graham crackers or cookies for the crust.
- Vegan Option: Use dairy-free cream cheese, coconut cream, and plant-based whipped cream for a plant-based version.
FAQs
Conclusion
These No-Bake Cheesecake Cups are the perfect dessert for any occasion. Easy to make, endlessly customizable, and utterly delicious, they’re a go-to recipe when you want something impressive without turning on the oven. Pair them with a refreshing mocktail, and you’ve got a dessert that’s sure to delight your guests.
Ready to whip up these creamy treats? Save this recipe and let me know how you personalize it with your favorite toppings!
Cheers to easy, elegant desserts! 🍓✨

